Saturday, February 16, 2013


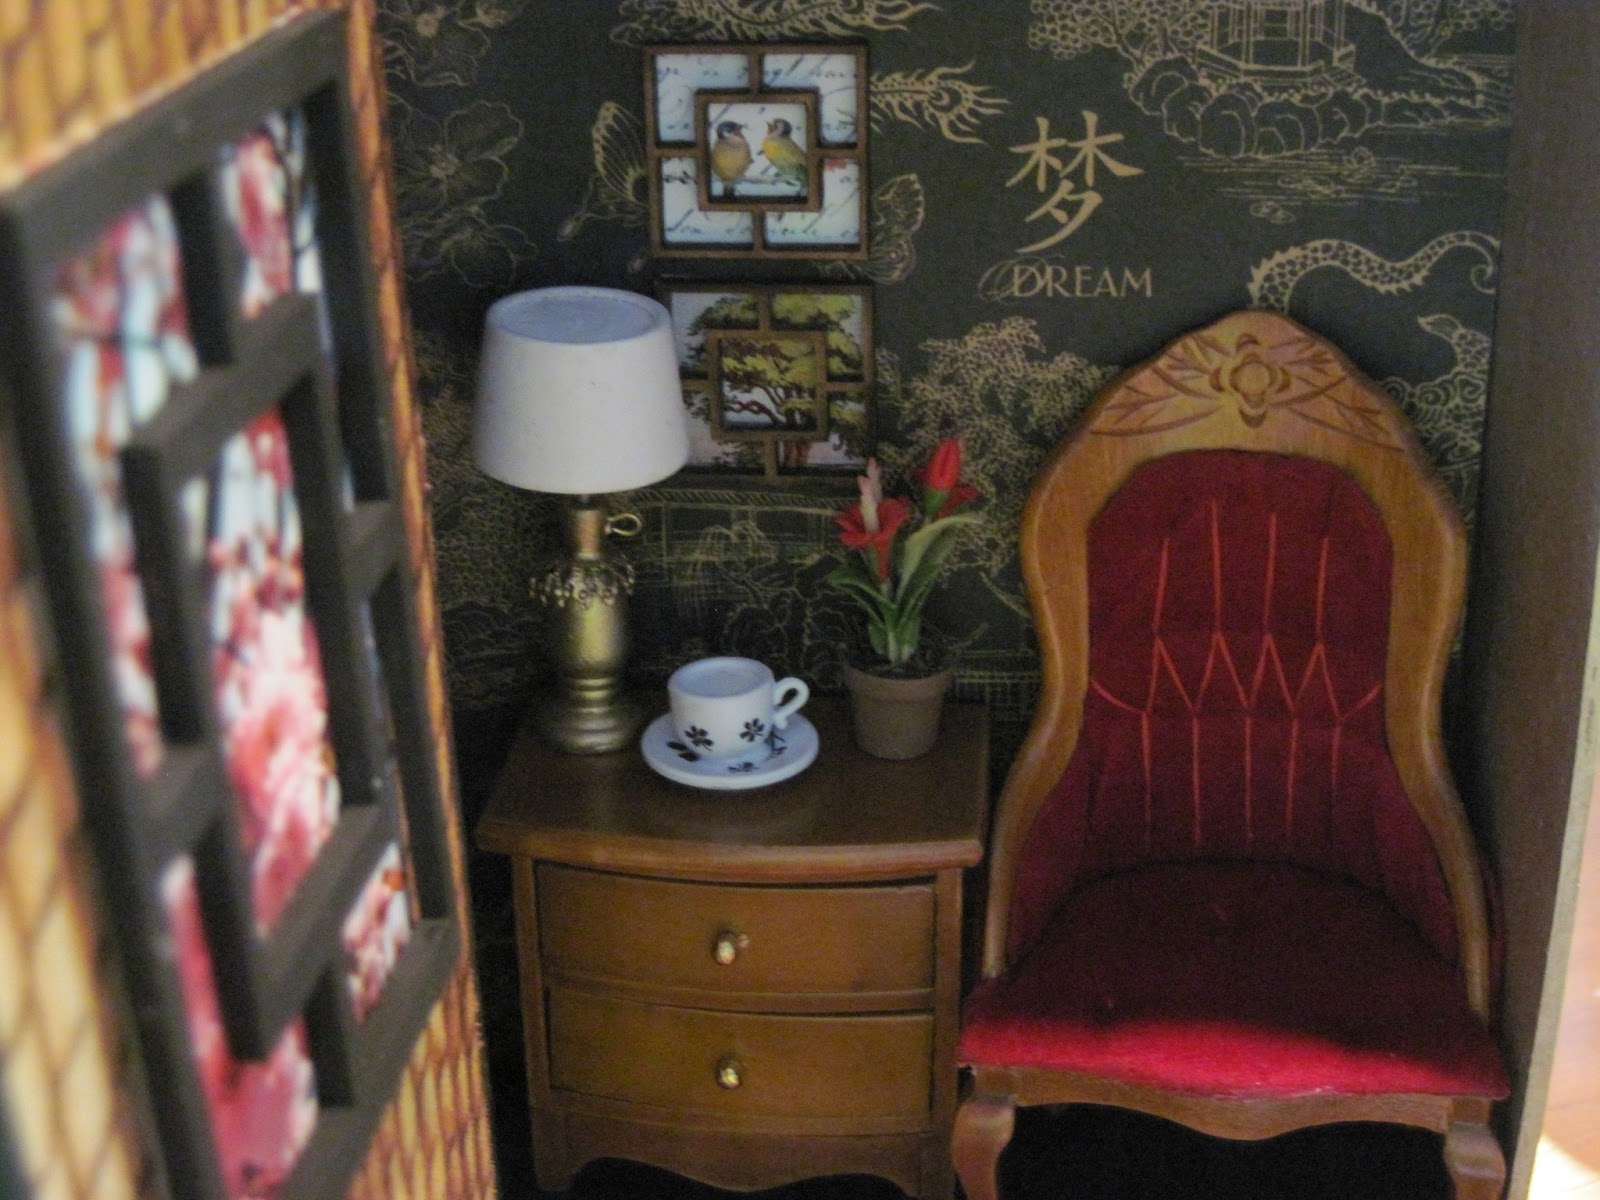
This is one of my all time favorites.  In an older post, I showed the process of picking out things for your cover.  Look really closely to the background , the wall and the surroundings because on the inside of this one, I focused on the outside....


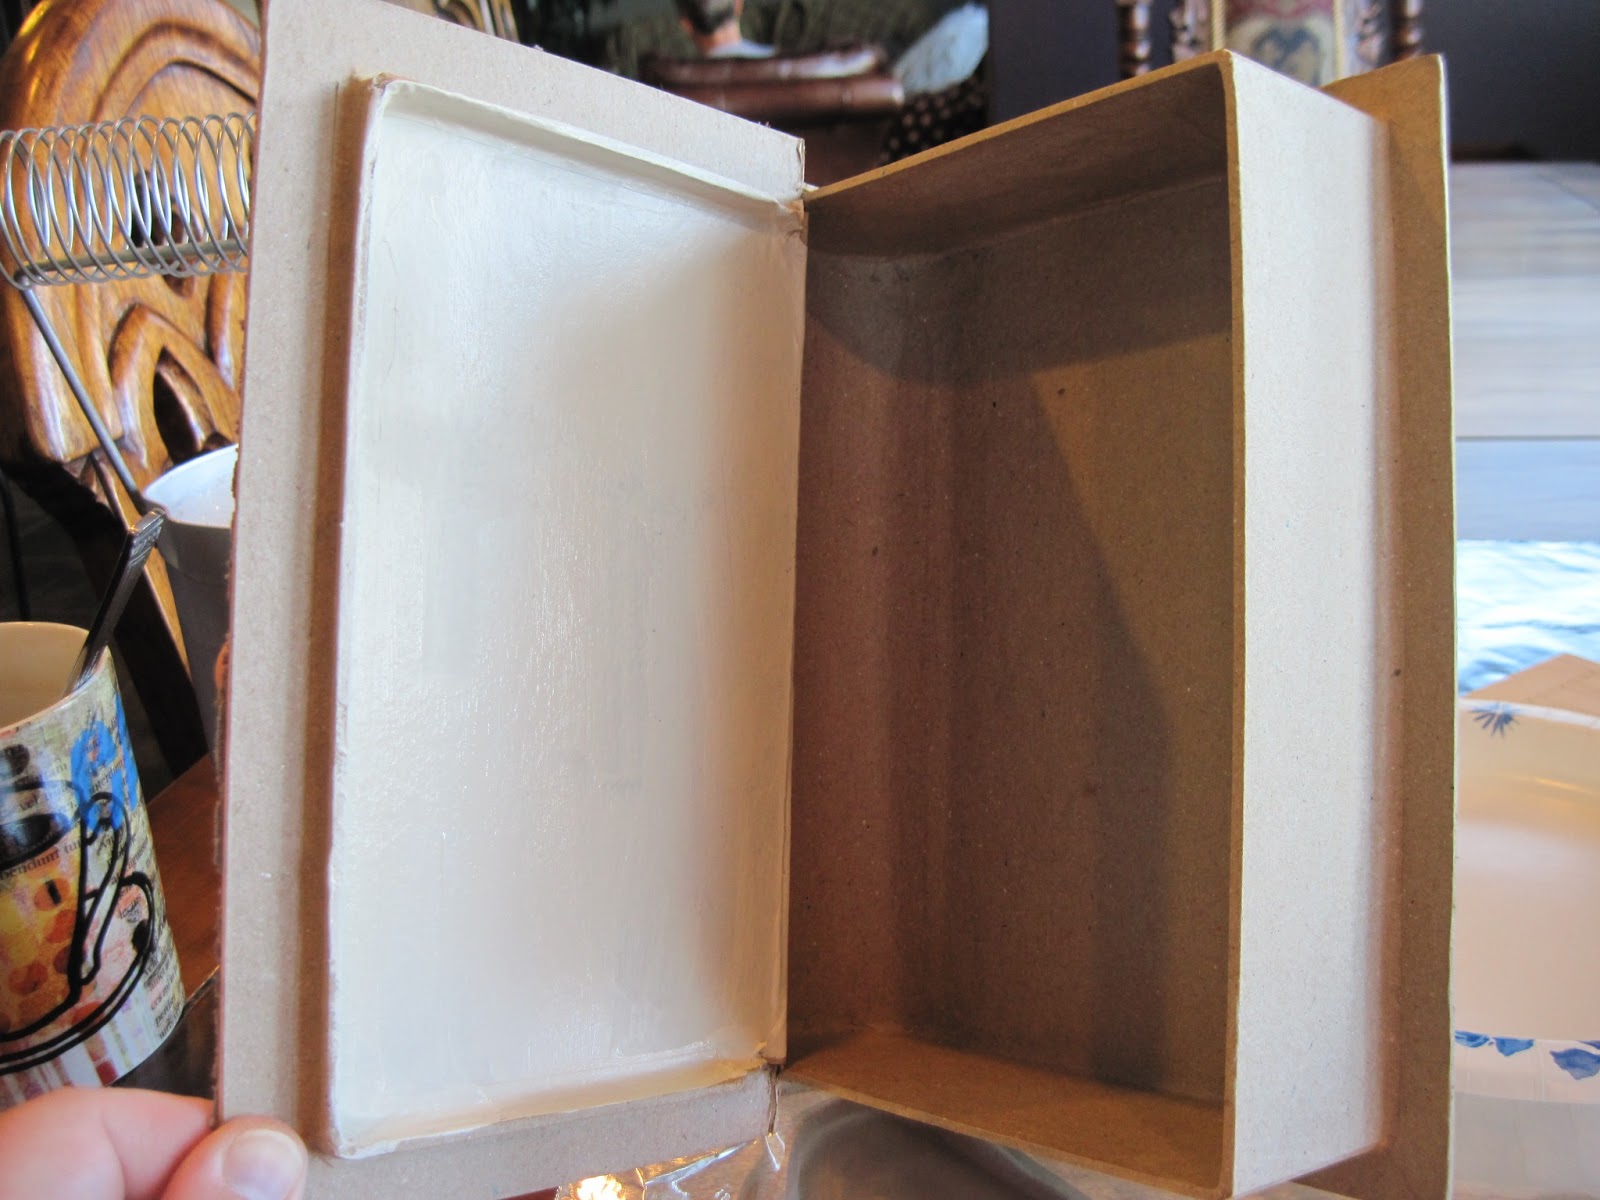
On the left, the wall is that of what was in picture, then on the right I textured the wall so it is just like stucco. I used Golden's "Coarse Pumice Gel"  it turned out great, though it was a bit challenging, I would rather use a palette knife next time to apply (rather than a paint brush).


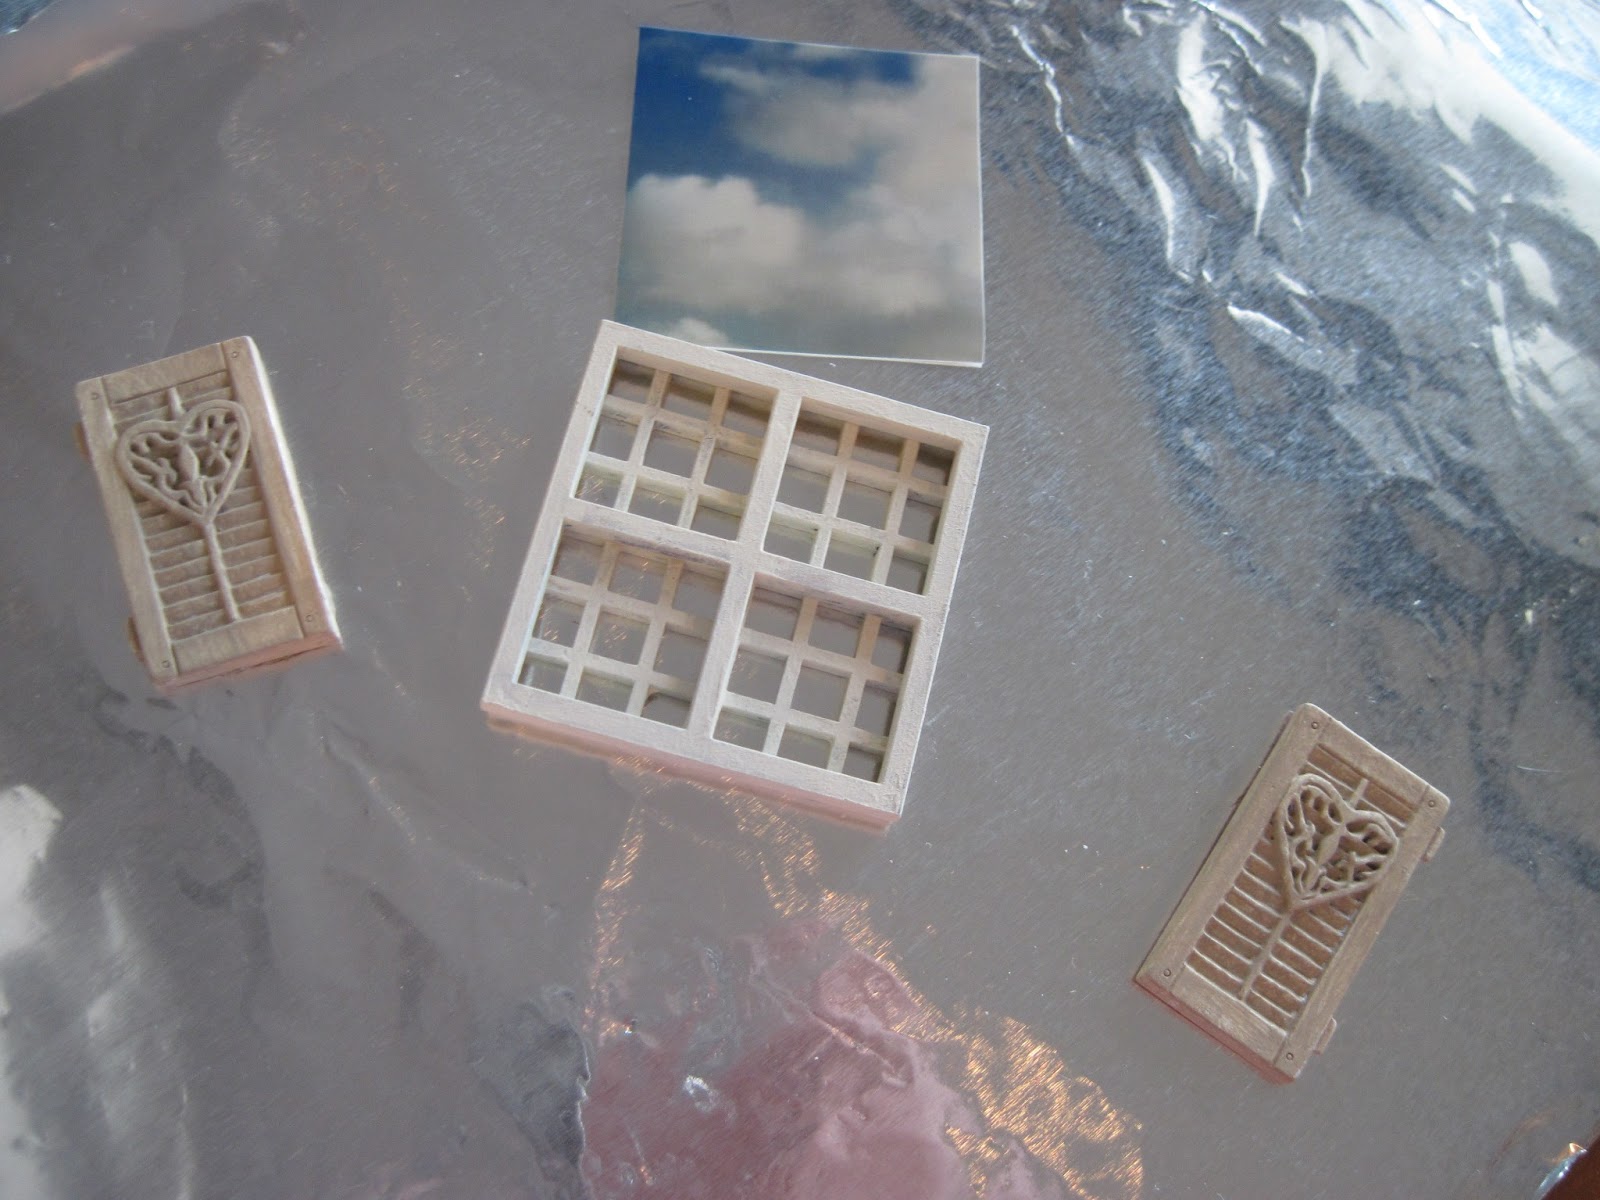
This one had doors, but they were just too small, proportionately, so   I took them off and came up with this.

Here is the finished product.....finally!

Saturday, February 9, 2013

  Flowers by the Lake
This is the picture that I have picked out
This one will go on the inside of the "Escape"
(notice that the flowers are blurry)
I cut the photo for the inside of the box, and put 3 dimensional  flower stickers over them to match the flowers in the frame.


I painted modge podge all over front of book,  and laid the  glimmery fabric over the top of the book.  (usually I would
put the fabric down and then put the modge podge over the fabric), but not in this case.
Here is another look at the fabric.


After glue dries, cut the extra fabric off.


I used this paint for the spine of the book. (I love this paint)
As I paint the spine, I lift the fabric up slightly to get the paint at the very edge.
The spine is now painted, and I have not yet decided if I am going to paint the stripes yet.

Here is the finished cover, I love it, it is very neutral, and feminine  in contrast to what will be in the inside of the book,
very bright ,yet serene.  I picked the trim (it is a slight peach color) to match the dress in the painting.

Referring to the pictures that I picked out for the inside, ( I have never attempted this before), I used multiple colors on my brush to get the following effect.

 Then I added in the photos.


The hard part was painting a match to the photo by hand (on the right side) but it worked out just fine.

The inside, so far...what do you think?

Then for the ground I tried something I have never attempted so far,
I took some sand that I had from my beach "Escape", and put it in a plastic bag,  and sprayed it with "Tattered Angels" "Glimmer Mist", color-latte.
This is what it looked like.  It was the perfect match to the sand and rocks in the picture. So, I had to let it dry.


While it was drying, I painted the bottom of the box where the sand would go, so that if some of the sand were to rub off, it would not be that noticeable.
Then I painted modge podge on this surface and put the sand over it, and let it sit for a few minutes, then let the excess fall off, and it looks like this:


Then I got a few pieces of slate, and glued them over the sand and decided to paint them a little bit, (I will add more later)


Here are the final pictures


Sunday, February 3, 2013


Beach Escape
This one is by far my most popular Escape.  People really connect in some way with this one.


Saturday, January 19, 2013


Bird Song is done!

Here are a few pictures of what the inside looks like.  If you want to see the cover, scroll down a little, and you will see it from my post on the 14th.


Please leave comments!

Monday, January 14, 2013


"Bird Song"


A client asked me to make an "Escape" for someone special, so I asked what the person's interests were, what kind of colors that person likes, and I was on my way. This one is going to have red in it, and it will be an Asian Theme, which is really exciting because I was going to make an Asian themed "Escape"  anyways!! First I started with the cover, and painted  it Hauser Dark Green.  Then I took some gold netting and put mod podge over the fabric netting.

I have some frames, and I picked out an image, and decided to change it to the birds. I get the picture frames on ebay,  $8.99 for 10 of them plus shipping. Then I can put in any image that I please, and this is the cover that I created.  I will probably paint the stripes on the spine in gold, but here it is so far.


Sunday, January 13, 2013

The Finished "Escape"!

 
Here is the cover.


From the picture on the front, I made a window matching the window on the house, also I found a screen door just like the one in the picture.  The picture on the front has to match the inside of the "Escape".
I always paint the back cover of the "Escape" the color graphite by Americana Paints.

Here is the finished inside.
and a couple of close -ups.
Let me know what you think!
Now, on to my next project.

Sunday, January 6, 2013

Tutorial of inside of the "Escape"


Here is the front of the "Escape" that I already put together, I painted a peachy color, then glued on the fabric, the trim and the flower button. Below is a close up of the picture on the  front.   
                                                        
Below is the inside of the "Escape" ready to be painted and decorated.


I painted the inside of the cover "bleached sand."

Then I glued the screen door that I found to the inside of the front cover.


Then I added a door handle, and some embellishments.


Then I added a small print of scrapbook paper to the inside.

I was able to find all of the ingredients for a window, like the one in the picture. and I put a picture of clouds underneath the window, even if it is not that visible, it is a window to the outside.

Then I added the window

Here is and overview of what it looks like so far.


This morning I painted the floor, a glossy cream color.  Then added a sofa table, with some treats on it, and I have some ceramic pitchers ordered.  

                          
I have not yet painted all of the book yet, but I like the way it is turning out. It has a very "clean" feel to it.

I used Stewart Gill Meta Mica paint on the spine of the book. I have not yet decided if I want to paint the lines or not.  I am posting as I am working on the book,  so keep checking back to see the progress I am making.